Contents

Gradio: graphical interfaces for Machine Learning models
Introducing Gradio, an open-source Python package for creating Machine Learning models user interfaces.
Introduction
Creating Machine Learning models is nowadays becoming increasingly easy thanks to many open-source and proprietary based services (e.g. Python, R, SAS). Although, practitioners might always find it difficult to efficiently create interfaces to test and share their completed model to colleagues or stakeholders.
One possible solution to this problem is Gradio, a free open-source Python package which helps you to create models user interfaces which you can effortlessly share with a link to colleagues and friends.
Gradio can be easily installed by using the following command:
!pip install gradio
Gradio is perfectly compatible with many Machine Learning frameworks (e.g. TensorFlow, PyTorch, etc…) and can be used even for arbitrary general-purpose Python scripts.
I will now walk you through different examples of how Gradio can be integrated into your Machine Learning workflow. All the code used for this article is available in this Google Colab notebook and my GitHub account.
Demos
Image Classification
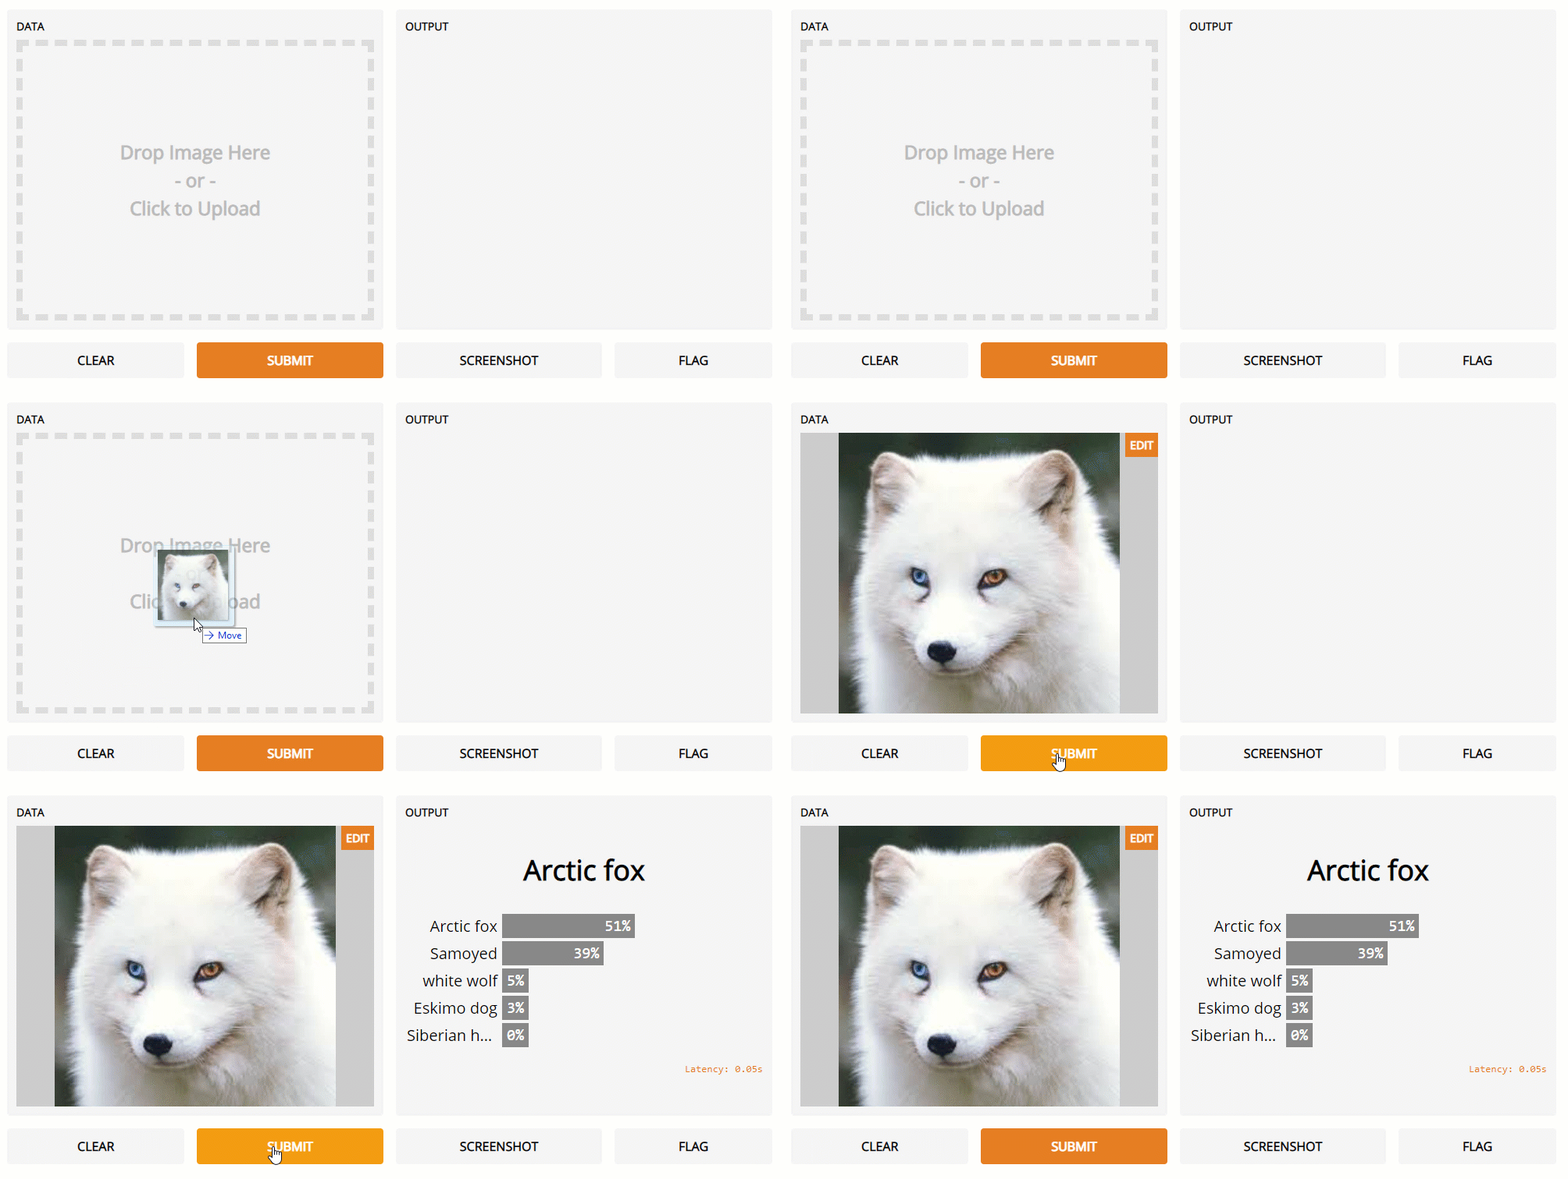
In this example, we are going to create an interface to load images to test a Computer Vision model. In this case, we are going to use PyTorch and the Alexnet pre-trained model, but this experiment can be recreated for any other model and framework.
In order to create a Gradio interface we just need to call the interface function and pass three parameters:
fn: a function which is automatically called by interacting with the user interface in order to create a prediction for our model, provided some form of input.
inputs: to inform Gradio what type of input we are expecting to get from the user interface (e.g. images, text, audio data, numerical data).
outputs: to inform Gradio what type of output is going to be returned by our prediction function. In this way, Gradio can understand how the output can best be represented on the user interface.
Once created our interface we then just need to launch it (Figure 1). When launching the interface we can then decide if to pass extra parameters such as share or debug as true. These parameters can in fact be used to embed our Gradio interface not just on our notebook but also as a sharable webpage and to make it easier to debug our system during testing. Sharable links, remains although active just for 6 hours.
 Figure 1: Gradio Image Classifier
Text Generation
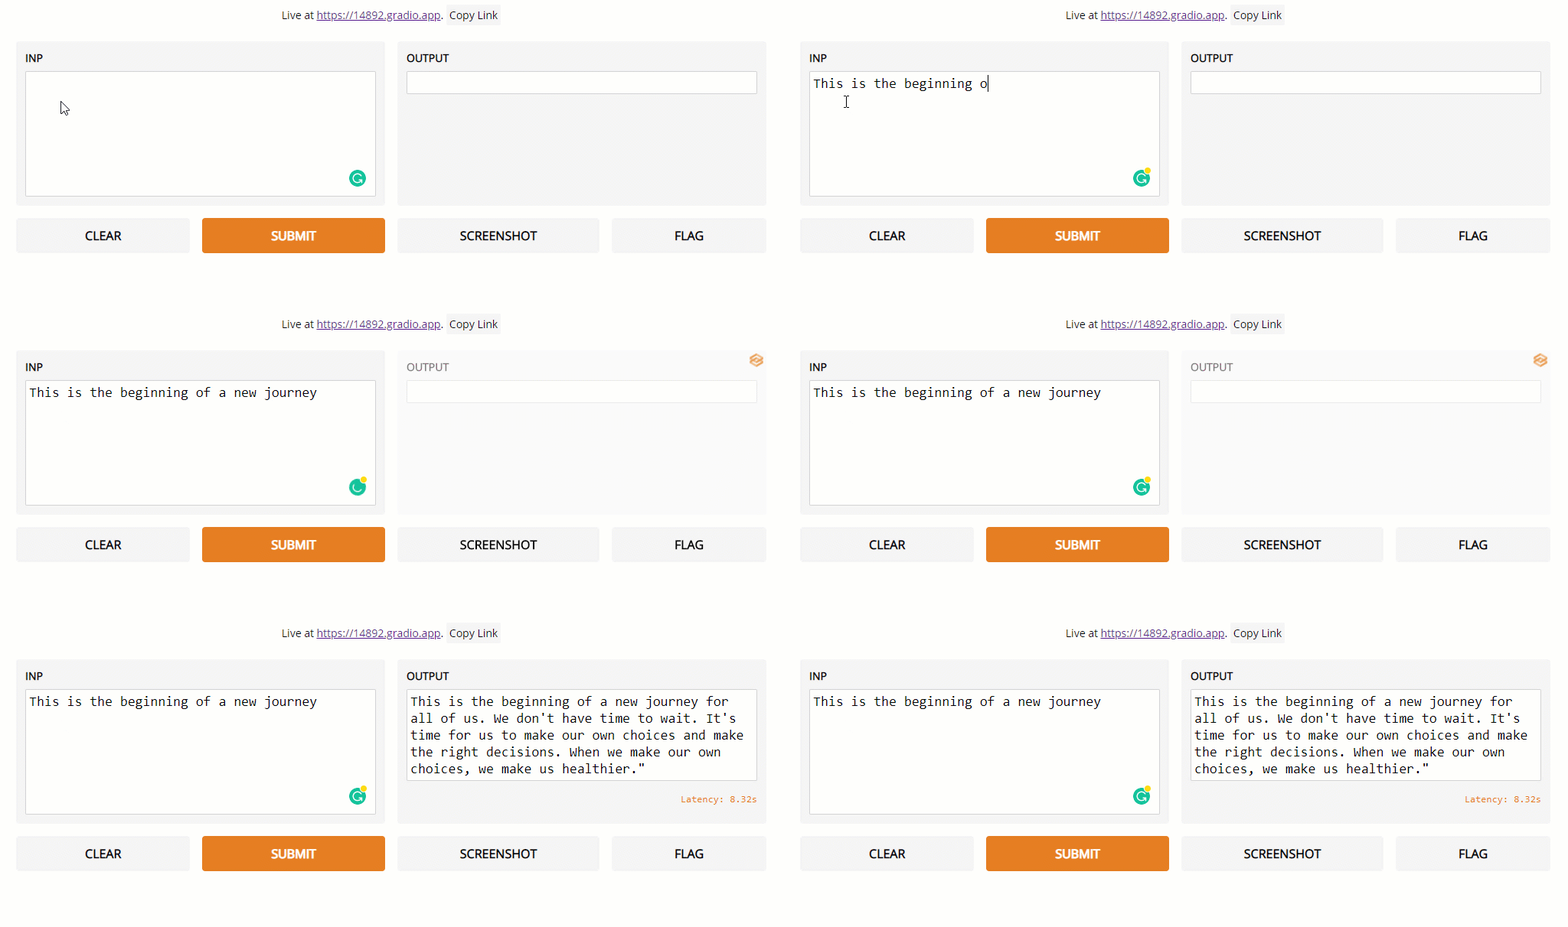
Generating text in order to predict the conclusion of a sentence or to generate narratives is currently a topic of great interest, especially thanks to the advent of Natural Language Processing (NLP) Transformers. In this example, I am going to create a user interface for the GTP2 HuggingFace pre-trained model I introduced in a my previous article about NLP.
 Figure 2: Gradio Text Analysis
Live General ML model prediction
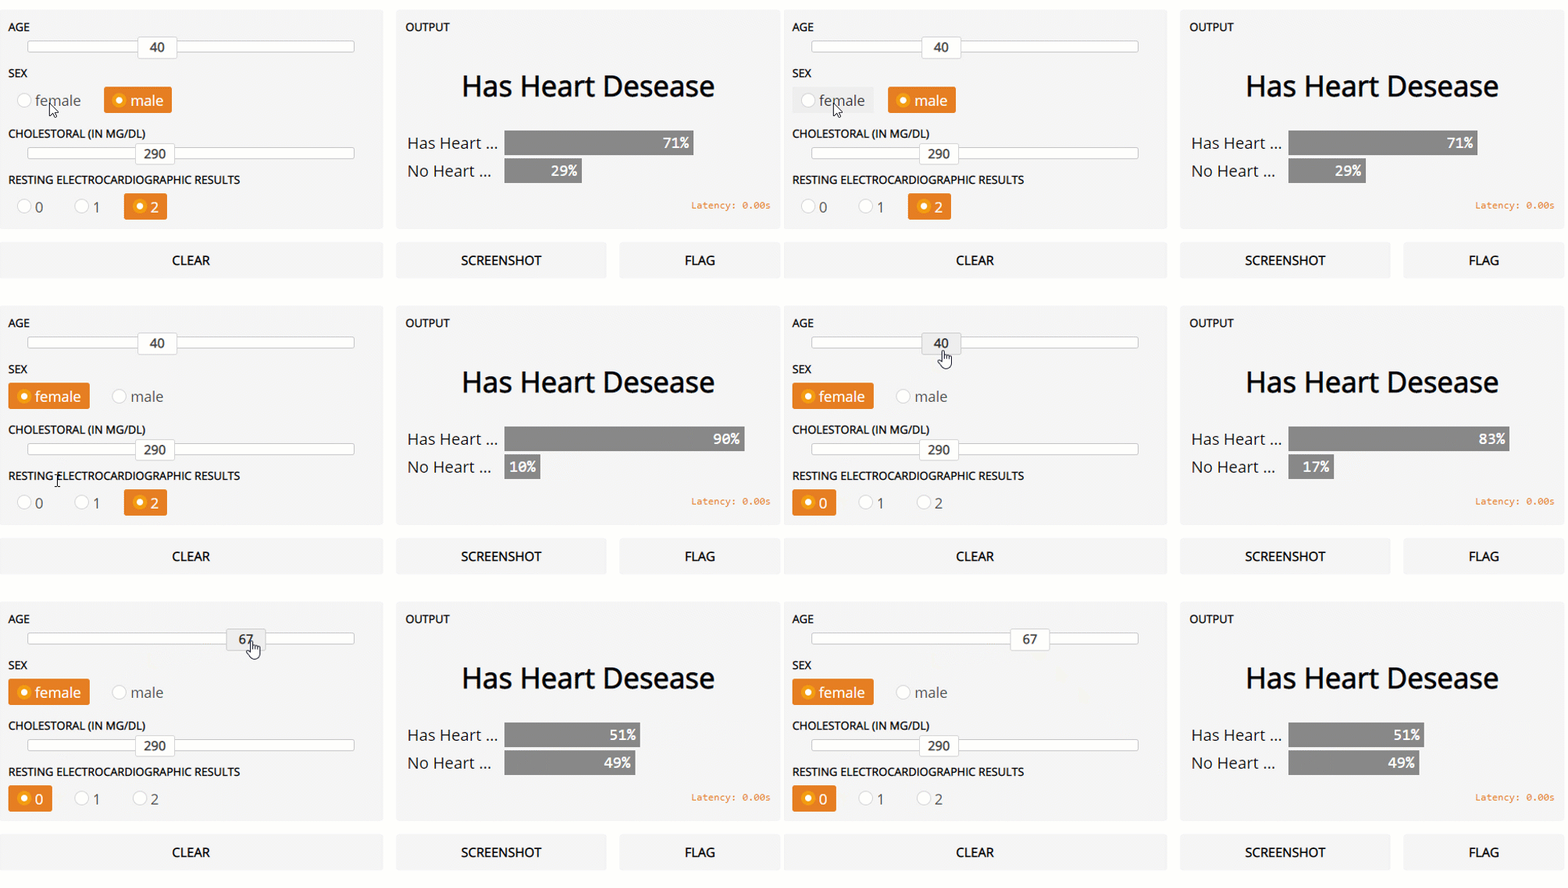
Finally, in this example, I am going to show how Gradio can be used for classical Machine Learning problems involving multiple types of input data. In this example, the Kaggle Heart Disease UCI dataset is going to be used as our dataset. All the data pre-processing steps are available in this Google Colab notebook and on my GitHub account.
 Figure 3: Gradio Live General ML model prediction
Conclusion
Gradio, can be certainly be considered to be a great tool in order to create interfaces for Machine Learning project when creating and testing models, although in order to incorporate your model in a production and stable environment alternative solutions might be necessary such as:
A full list of the different facilities and GUI interfaces provided by Gradio is available on the official Gradio Documentation page. If you have any question, feel free to leave a comment in the comment section below.
I hope you enjoyed this article, thank you for reading!
Contacts
If you want to keep updated with my latest articles and projects follow me on Medium and subscribe to my mailing list. These are some of my contacts details:
